The process of preparing the fiber is not difficult, and the tools needed are few. For cotton, the first step is picking the cotton bolls from the field. “Ginning the cotton” is to remove the seeds, and you can do this by hand. It’s tedious, but just put on a good movie and you’ll finish in no time. Next, the cotton needs to be washed and cleaned of dirt and debris.
I am intrigued, but have not yet raised my own sheep for the wool. Step 1 with wool would be to shear the sheep of their coat. Next, the wool also needs to be washed and cleaned of dirt and debris.
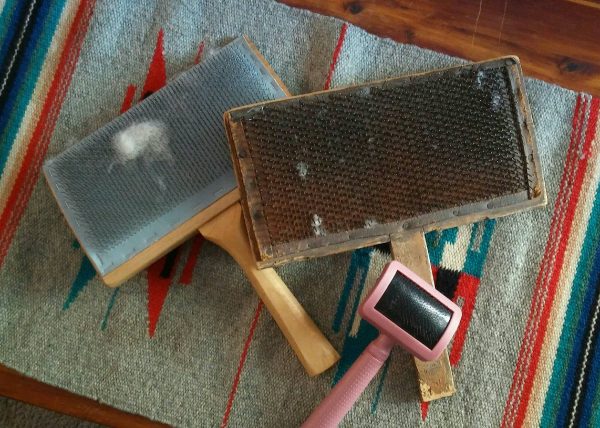
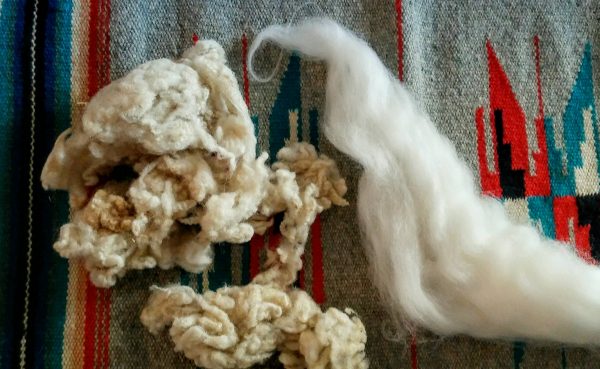
Step 3 for both cotton and wool is “carding”. For this step you will need a set of tools called carding combs. They are flat, wooden paddles with about 700 tiny, angled needles embedded. Carding the raw, clumps of wool or cotton will straighten the fibers to all go in the same direction. This is very important for spinning the yarn later.

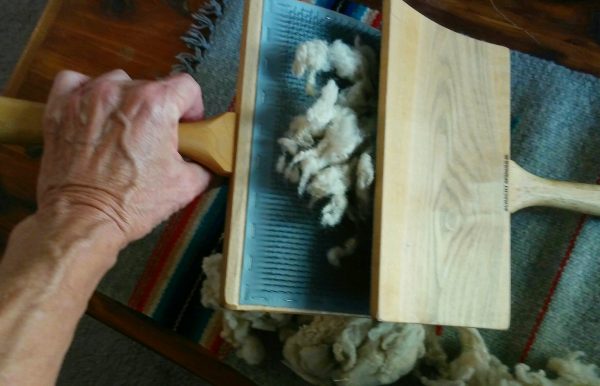
To card, place clumps of fiber along one of the combs. Pull the other comb across the face of the first in the opposite direction several times. Peal off the nearly straightened fibers, replace on the first comb, and card again several more times. Repeat the process until the pile is completely combed out straight.


I have two sets of carding combs, one antique and the other commercially purchased. Both work great. When I was teaching children, we used cat brushes. They’re smaller, easier to handle, and cost less than $5 a piece. Pre-carded fibers can be purchased on-line or from a specialty shop. However I feel knowing how to card fibers is an interesting skill to put in your tool box.
Get ready for our next session when we’ll get into some fun stuff…SPINNING!!
